REVIEW · ST KITTS
Hike St. Kitts: Highest peak Mount Liamuiga Volcano
Book on Viator →Operated by JB Taxi & Excursions (Janeel) · Bookable on Viator
This volcano hike hits hard—in a good way. I love the hands-on local guiding (Djae and Elly, Janeel, DeeJay, Quan) and the chance to stand over the crater rim on St. Kitts’ highest peak, Mount Liamuiga. The one real drawback is the climb is steep, hot, and can get slippery and muddy fast.
The payoff is a rainforest hike that feels like a living soundtrack: birds, crickets, and Vervet monkeys drifting through the trees while you earn your views. You’ll also get a road trip sense of the island, driving past school zones, Basseterre, and even the former slave area often called the free village.
Before you book, consider that this is a true workout. It’s not built for knee or hip problems, and you’ll want a change of clothes ready because you’ll come back sweaty (and sometimes muddy).
In This Review
- Key things that make this hike worth your day
- Mount Liamuiga in Plain Terms: What You’re Really Climbing
- Morning Drive From MaPau Casino to the Caldera Rim
- The Hike Itself: From 700 Feet Up to Crater Views
- Guides, Pace, and the Six-Stop Strategy That Keeps You Moving
- What to Pack: Shoes, Water, and a Change of Clothes You’ll Actually Use
- Value and Logistics: How $109.99 Works for Your Money
- Who This Hike Fits Best (And Who Should Skip It)
- Booking Check: Should You Take This Volcano Hike?
- FAQ
- How long is the St. Kitts Mount Liamuiga hike?
- What’s included in the price?
- Is pickup available?
- How difficult is this hike?
- What should I bring?
- What if I have asthma?
Key things that make this hike worth your day
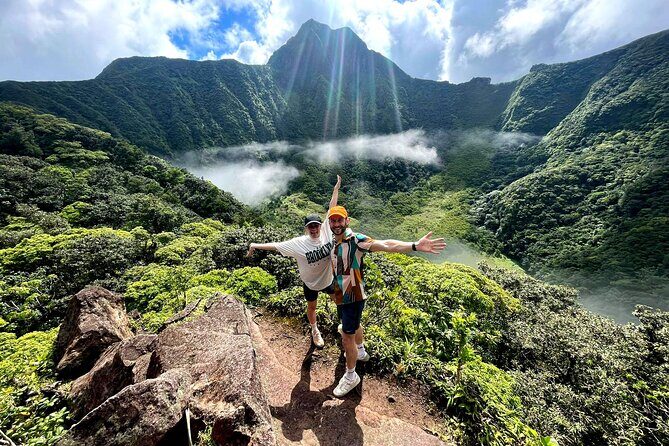
- A summit with serious bragging rights: Mount Liamuiga tops out at 1,156 m, the highest point in St. Kitts and Nevis
- Guides who manage your effort: multiple guides (including Djae, Elly, Janeel, DeeJay, Quan) keep you safe and moving
- Real elevation gain: start around 700 ft and climb to roughly the 3,100 ft range before crater/summit views
- Rainforest vibes plus views: birds and Vervet monkeys on the way up, crater and caldera scenery at higher points
- Small-group feel: capped at 25 travelers, so the experience stays personal
- Mud-ready planning: strong shoes matter, and you should pack extra clothes for after the walk
Mount Liamuiga in Plain Terms: What You’re Really Climbing
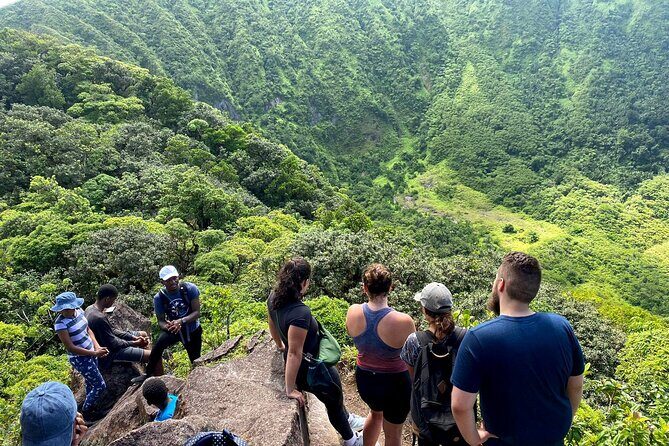
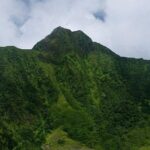
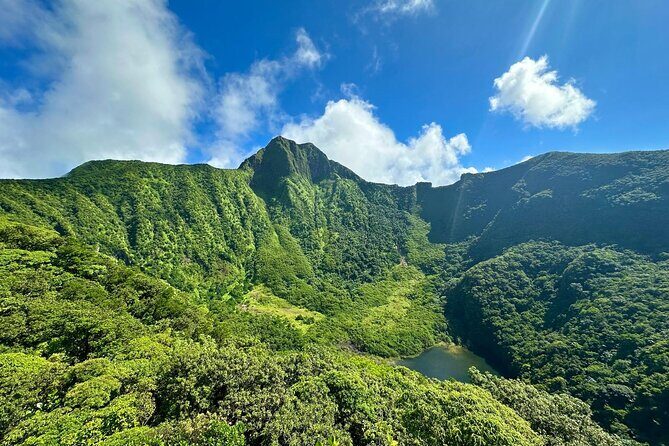
Mount Liamuiga (also tied to the name Mount Misery) is the main event here, and the route is built to take you from near sea-level up into crater country. You start the hike at about 700 feet above sea level and work upward toward around 3,100 ft, then aim for the higher vantage points with crater views and the summit viewpoint at 3,792 ft (1,156 m).
What that means for you in real life: you’re not doing a scenic stroll where you stop, pose, and coast. You’re climbing through humid forest, with steep sections and uneven ground. The best part is that the effort feels worth it quickly. The higher you get, the more the air changes and the views open—until you’re looking back down over the community and toward the neighboring island’s volcanic profile.
This is also a place where nature isn’t just decoration. Guides spend time on the trail sharing what’s growing around you, and the rainforest energy is constant. Even if you’re not a big plant person, it makes the hike feel like you’re moving through a living system instead of just conquering stairs.
You can also read our reviews of more hiking tours in St Kitts

Morning Drive From MaPau Casino to the Caldera Rim
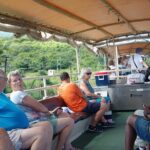
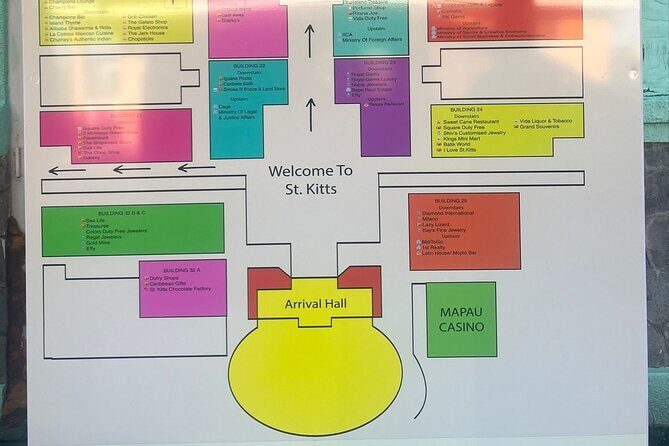
Your day starts with an organized pickup and a ride in an air-conditioned vehicle to the trail area. The meeting point is at MaPau St Kitts Casino & Entertainment Centre in Basseterre (77RH+W2C). The schedule is timed for cruise days too, and the operator notes that they handle early departures without leaving you stranded.
The drive is more than just getting there. You pass through school zones and the main town, plus communities including the area referred to as the former slave free village. You also get glimpses of the mountains with the Caribbean Sea off to the side—so even before you lace up your shoes, you’re building a map in your head.
Practically, this ride matters because it sets expectations. The hike is about elevation and terrain, not about long periods of flat walking. By the time you’re dropped near the start point, you’ll understand what kind of day you’re in for.
The Hike Itself: From 700 Feet Up to Crater Views
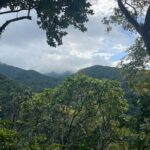
The hike begins at 700 ft and climbs toward higher elevations where crater-and-summit views become the main attraction. Along the way, you’ll spend time in rainforest shade, which helps—but it doesn’t make the climb easy. Heat and humidity still show up, especially when the trail tilts uphill for long stretches.
A key thing I like about the way this tour is set up: the route includes multiple stopping points. In real terms, it prevents the classic volcano mistake of going too fast early and crashing later. Some reviews describe about six stops on the way up, with guides adjusting the pace and giving you time when you need it.
As you gain altitude, you reach points where you can look into the volcano’s caldera and see the crater rim. The guide-led commentary also makes these stops feel educational, not just photogenic. Higher viewpoints let you see the summit area at 3792 ft, and from there you can often take in the surrounding scene, including the neighboring island’s volcanic presence.
One more truth you should know: descending is not automatically easier. The same steep sections can feel scarier going down because roots and rocks can turn slick. Plan to treat the descent like part of the workout, not a victory lap.
Guides, Pace, and the Six-Stop Strategy That Keeps You Moving
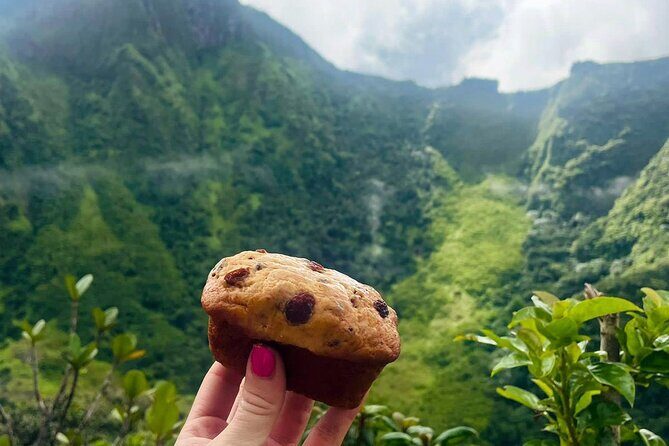
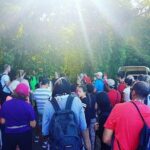
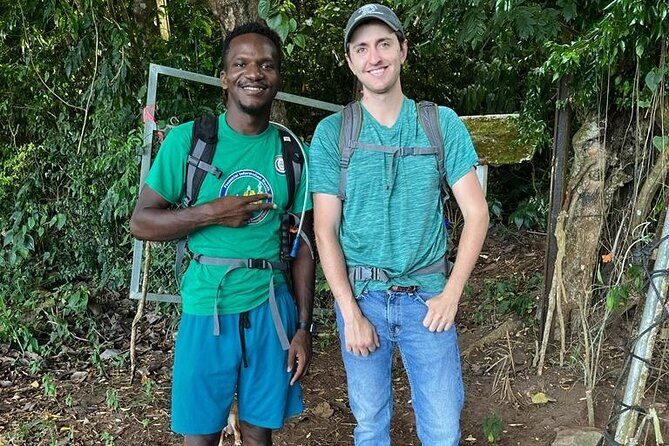
This is a guide-led hike with a clear safety mindset. The guides you’ll hear about include Djae, Elly, Janeel, DeeJay, Quan, Sunshine, Jamella, Jaylee, Jaquan, and Elijah. Different names, same theme: keep the group together, manage effort, and help you place your feet on tricky terrain.
You’ll often move at a pace that respects real bodies. Some hikers needed extra minutes and still made it. Others had to turn back at an earlier checkpoint due to sprained ankles or fitness limits, and the guides worked with them on the safest option. That flexibility is one reason this hike gets such high recommendations: it’s structured, but it isn’t rigid.
What you’ll feel on the trail is a mix of encouragement and technical cues. Guides help with where to step and how to handle slippery roots and rocks. You also get reminders to keep hydrated. If you’re the kind of person who worries you’ll be the slow one in the group, the setup here is designed to reduce that stress.
What to Pack: Shoes, Water, and a Change of Clothes You’ll Actually Use
You’ll want to pack like the ground is going to be wet and muddy, because it can be. Reviews mention muddy trails and slippery roots, plus the reality that some hikers come back with wet shoes and heavy legs.
Here’s what I recommend based on the information you have:
- Sturdy hiking shoes or boots with good grip
- A small bag for water and snacks (you can carry what you need without being bulky)
- A change of clothes for after the hike
- Your own water plan, even though bottled water is included
Heat and humidity matter here. You’ll hike for several hours, so don’t rely only on the included drink. One review points out you need lots of water in hot conditions, and a few hikers noted rain actually cooled things down while clouds moved quickly enough to still get strong views. In other words: don’t assume rain ruins everything. It can change the feel of the day.
Other practical notes from what you’re told: asthma hikers can take the hike if they share it in advance and bring necessary aid like a pump. Service animals are allowed. And if you have hip or knee problems, this is not recommended.
Also, light breathable clothing usually wins. You’re not dressing for fashion photos; you’re dressing for sweat, shade, and footing.

Value and Logistics: How $109.99 Works for Your Money
At $109.99 per person, the real question is what you get beyond the view. Here’s what’s included:
- Snacks / light refreshment
- Bottled water (625 ml / 21 fl. oz)
- Soda / pop energy or sugar drink
- Air-conditioned vehicle
- Free transportation within predefined locations
- Mobile ticket
Not included:
- Lunch
- Alcoholic beverages
- A transport fee if you’re going to/from Park Hyatt & Reggae Beach Pier, and the operator notes a specific rule if fewer than 4 people are traveling (they reference a value of 4 for a $10 per person fee)
- Merchandise like hats and rags for $25 per person
To me, the value is in two places. First, you’re paying for guided decision-making on a steep, uneven trail. Second, the experience is built for cruise timing, with the operator helping you get back in time to reboard.
If you’re debating whether to go, think about lunch. Since it isn’t included, you’ll want to eat before you start—or plan for what you’ll do after you return. The tour runs around 6 hours (approx.), so you’re not looking at a quick half-day unless you already know how your body handles steep climbs.
Who This Hike Fits Best (And Who Should Skip It)
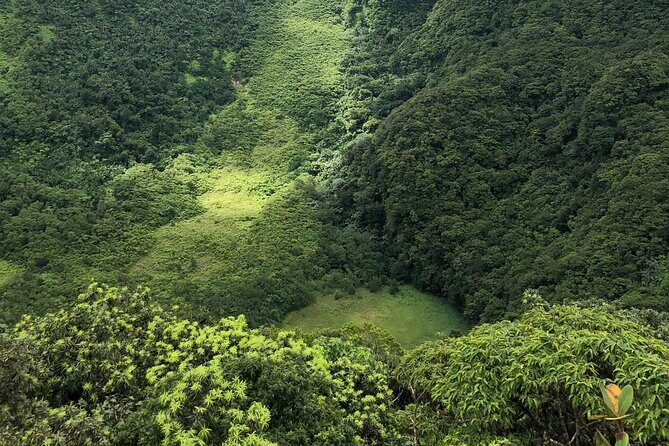
This is a “strong physical fitness level” type of tour. You’ll be hiking at significant elevation with steep inclines. It’s described by many hikers as challenging and one of the hardest workouts of the trip.
Who tends to love it:
- You want a real active day and can handle uphill climbing both ways
- You enjoy rainforest walking with a guided education component
- You like the reward feeling of reaching a true high point, not just a lookout platform
Who should seriously reconsider:
- You have hip/knee problems
- You’re not active and don’t have the cardio and leg endurance for steep, humid climbing
- You need to avoid slippery footing on roots and rocks
One useful takeaway from multiple descriptions: some people who exercise regularly still find it tough. That’s not a scare tactic. It’s just honest match-making. You don’t want to be bargaining with yourself halfway up.
Booking Check: Should You Take This Volcano Hike?
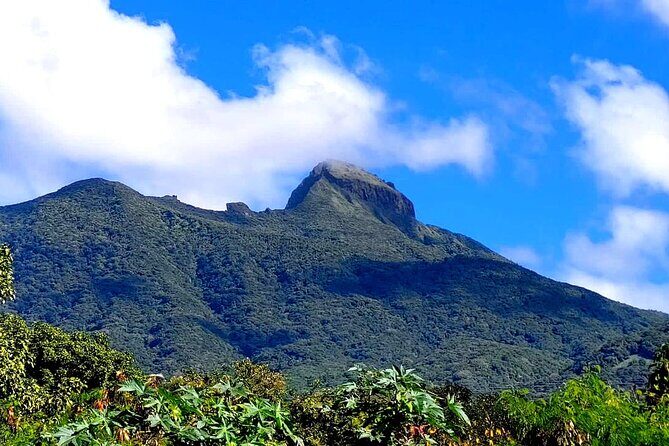
If you want a St. Kitts day that feels like effort and payoff in the same package, this hike is a strong pick. The combination of crater views, rainforest wildlife sounds, and guide support (with names like Djae, Elly, Janeel, DeeJay, Quan) is exactly the kind of local experience that makes a Caribbean trip feel more real than a beach loop.
My decision rule is simple:
- Book it if you can handle steep, muddy trails and you’re willing to wear the right shoes and bring a change of clothes.
- Skip it if your knees/hips are already angry, or if the idea of a long uphill grind in humidity sounds like something you’ll resent.
If you’re cruising, pay attention to timing too. The operator specifically advises using a 9 a.m. departure only if your ship arrives later than 7:30 a.m., and to put your arrival time in the notes.
Do this one when you’re ready for a workout, then let the crater rim make the whole day feel worth it.
FAQ
How long is the St. Kitts Mount Liamuiga hike?
The tour is listed at about 6 hours (approx.). The experience also includes at least 4 hours of guided nature time for the hike.
What’s included in the price?
The price includes snacks/light refreshment, bottled water (625 ml), an energy/sugar drink, and air-conditioned vehicle transport. It also includes free transportation within predefined locations, and you’ll receive a mobile ticket.
Is pickup available?
Yes. Pickup is offered, and the meeting point is MaPau St Kitts Casino & Entertainment Centre. The tour ends back at the meeting point.
How difficult is this hike?
It requires a strong physical fitness level and is not recommended for travelers with hip/knee problems. Expect steep inclines, heat/humidity, and slippery roots/rocks.
What should I bring?
Plan for muddy conditions and bring sturdy hiking shoes. It’s also recommended to bring additional clothes to change after the walk. Lunch and alcoholic drinks are not included, so plan food accordingly.
What if I have asthma?
Asthmatic travelers can take the hike, but you should share it in advance and bring any necessary aid such as your pump.