REVIEW · ST KITTS
St.Kitts Volcano Hike To Mt. Liamuiga (Highest Peak On Island)
Book on Viator →Operated by Welcome To Saint Kitts · Bookable on Viator
A real volcano hike on St. Kitts starts with one steep climb, and Mount Liamuiga delivers big time. I like how this trek feels like a real rainforest ascent, not a road-side nature walk, with endemic plants and birds popping up along the way. You’ll also get that payoff of crater-rim views over St. Kitts and nearby islands.
What I like even more is the human scale: a max group size of 15, led by guides such as Jay, Jey, Gucci, and Fully, who keep an eye on footing and pacing. On tough sections, you’ll get practical encouragement and clear guidance on how to move safely.
One consideration before you book: this is not a casual hike. It’s described as strenuous and technical, with steep root and rock sections where you may crawl or use your hands, and the schedule is built around returning on time.
In This Review
- Key highlights for this Mount Liamuiga volcano climb
- Why Mount Liamuiga is the right kind of St. Kitts adventure
- Trail reality check: shoes, mud, and how hard this really is
- What the 4 stages feel like on the way up
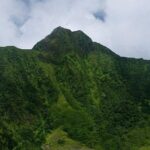
- Stop 1: Mt. Liamuiga and the crater-rim payoff
- Guides, pace, and why small groups matter
- Getting there from the port: pickup, meeting time, and timing stress
- What to bring: the gear that saves knees and keeps hands free
- Weather, breaks, and the “will I make it” question
- Price and value: is $69 fair for a 3,700-foot volcano climb?
- Who should book this Mt. Liamuiga hike (and who should skip it)
- Should you book the Mount Liamuiga volcano hike?
- FAQ
- How much does the St. Kitts Volcano Hike to Mt. Liamuiga cost?
- How long is the hike?
- Is pickup offered, and will I get a ticket on my phone?
- What is the group size limit?
- Is the admission ticket included?
- What kind of footwear should I wear?
- What happens if weather is bad or plans change?
Key highlights for this Mount Liamuiga volcano climb
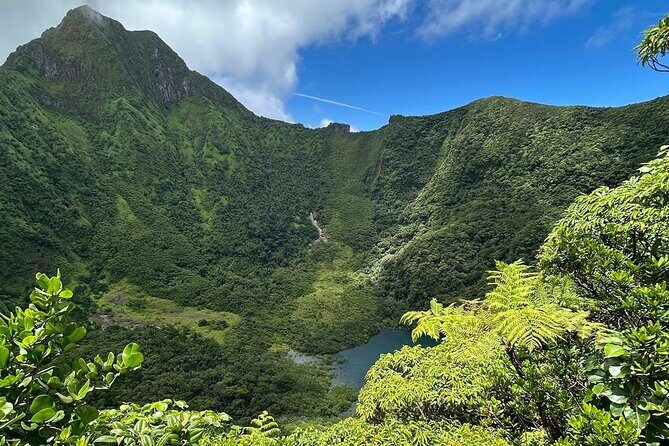
- Highest peak on St. Kitts: Mt. Liamuiga rises to over 3,700 feet, with crater-rim and caldera views.
- Rainforest trail with real scrambling: root steps, mossy rocks, narrow rocky stretches, and muddy conditions possible.
- A hike in stages, with one brutal stretch: the route is divided into four stages, and stage 2 is often the hardest and longest.
- Guides you can count on: Jay, Jey, Gucci, Fully, and Raheem focus on safety, breaks, and finishing strong.
- Small group for a calmer climb: up to 15 people, which helps avoid getting stuck behind a big crowd.
- Good views, but summit time is limited: the top area isn’t big, so plan for a short window to soak it in.
Why Mount Liamuiga is the right kind of St. Kitts adventure
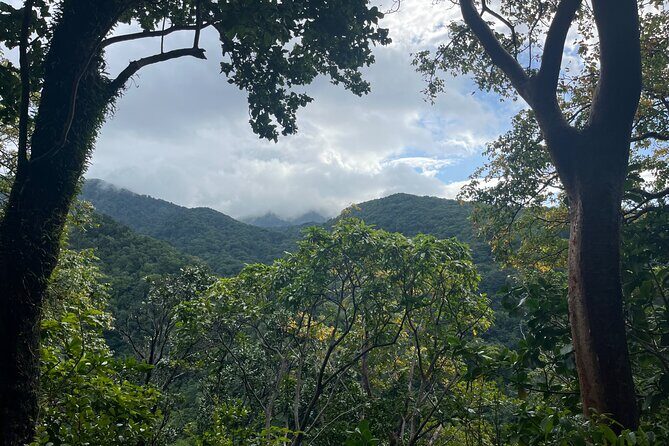
Mount Liamuiga is the highest peak on the island, and it’s a dormant volcano you can hike to the crater rim. That fact alone makes it different from the usual Caribbean “pretty scenery from a bus” tours. The climb takes you through rainforest and shifting ecosystems as you gain altitude, so you’re moving through more than one kind of nature in a few hours.
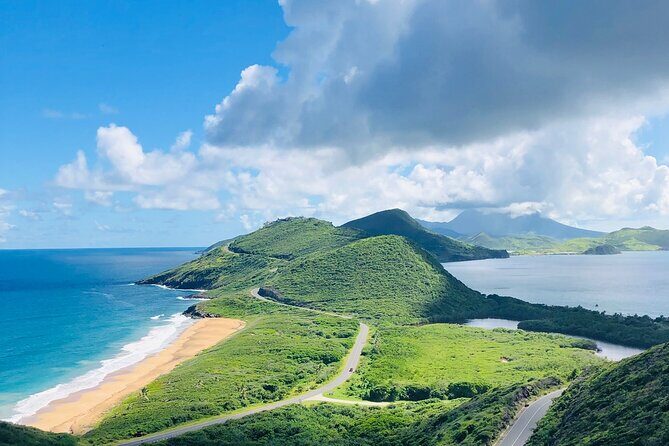
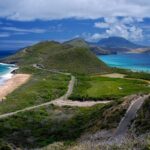
You’ll also get the storybook reward at the top: views stretching across St. Kitts, with neighboring islands visible on the horizon when the weather cooperates. And standing at the crater rim, looking into the old caldera, gives you that rare mix of effort and awe. It’s the kind of place where the workout makes the view feel even more earned.
You can also read our reviews of more hiking tours in St Kitts

Trail reality check: shoes, mud, and how hard this really is
I’m going to be straight with you: this hike has a reputation for being tough. Even fit people describe it as a “workout,” with steep climbs over rocks and roots, plus slippery mossy patches. Expect that your legs will burn, and your hands might get involved for balance on steep or uneven sections.
Several key details from the experience help you plan smart:
- You may need to move on all fours in narrow, rocky areas near parts of the climb.
- You’ll likely deal with muddy terrain, especially on rainy days.
- Root “steps” can be steep, and you may have to get down on your knees to navigate them safely.
- Your pace is set to finish and return on time, so don’t treat this like a wander-and-sip-water hike.
The simplest way to avoid a miserable day is to start with proper hiking shoes. Sneakers can work in theory, but you’ll want grip on wet rocks and traction on roots. One of the most repeated tips is to wear hiking shoes, not sandals or casual sneakers, because this trail can turn slippery fast.
What the 4 stages feel like on the way up
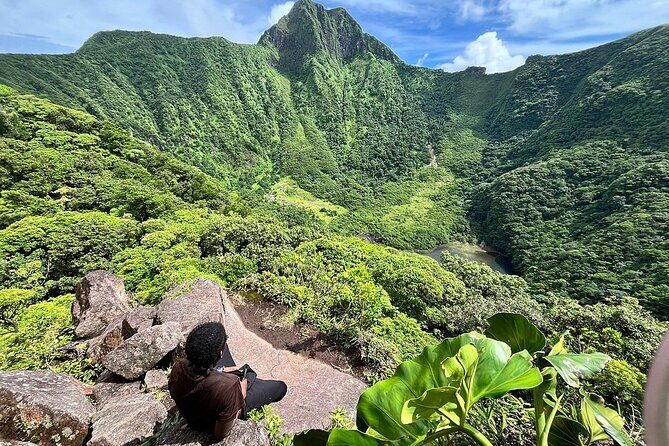
The route is described as four stages, and each part has its own feel. I like that structure because it helps you break the climb into chunks instead of thinking about the whole distance at once.
Stage 1 often feels like a warm-up, but not a light one. You’re already climbing through the rainforest, and you’ll start noticing how the ground changes—more roots, more uneven footing, and less “flat trail walking.”
Stage 2 is the one people talk about most. It’s described as the hardest and longest, which makes sense: it’s where the climb tightens and you’re often negotiating steeper ground. This is the point where your motivation helps most. Knowing you’re halfway changes the mental game, especially when you’re panting and gripping roots without thinking too hard.
Stages 3 and 4 trend toward technical footing and short scramble-like moments. You may see sections where you climb with your hands, and you’ll definitely want a watchful eye for slippery rock. Near the upper areas, some people describe it as more than a walk—more of a climb over rocks and roots—so go in with the expectation that you’re not just hiking, you’re problem-solving your steps.
Stop 1: Mt. Liamuiga and the crater-rim payoff
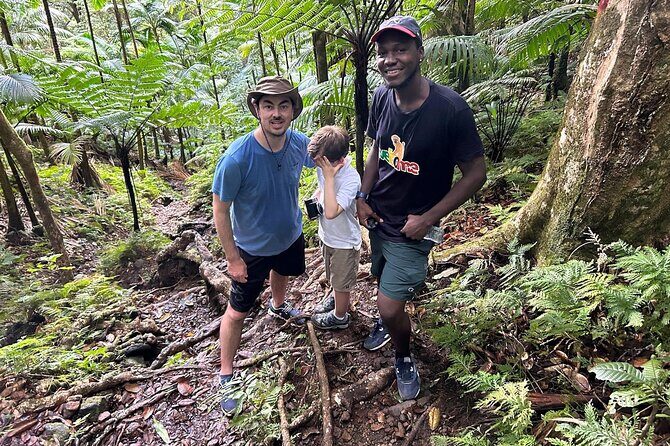
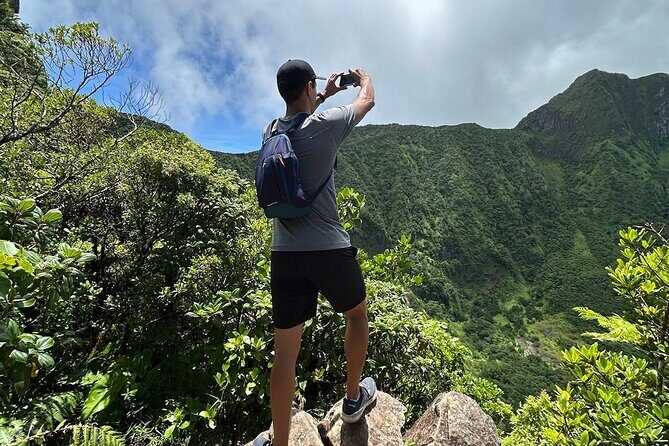
At the summit area, you’re rewarded for the climb with panoramic views and that volcanic centerpiece: the crater rim and caldera. This is the moment where your effort clicks into meaning. You’re looking down into something ancient, while standing in active, living rainforest on the slopes.
The views aren’t just “nice.” They’re wide—across the island, and often out toward neighboring islands when visibility is good. Even if the weather shifts, the perspective from the top is still the point.
One small heads-up: the top area is limited, and you won’t get unlimited time to hang out. Plan to take your photos, rest briefly at viewpoints, and then move when your guide says it’s time. If you want a long summit lounge, this tour isn’t built for that. It’s built for making the most of a short, focused summit window and returning safely.
Guides, pace, and why small groups matter
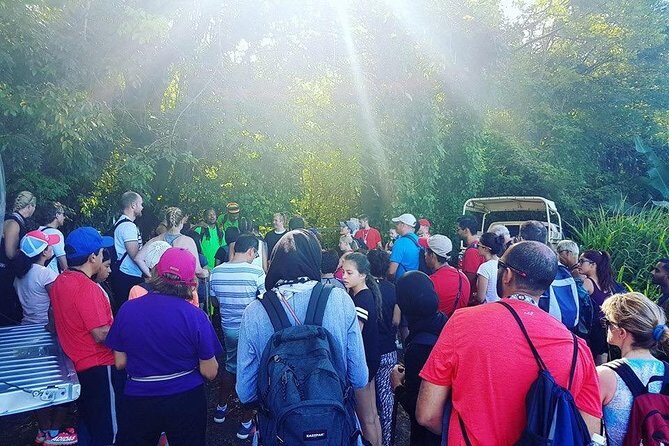
This hike runs with a limited group size—maximum 15 people—and that matters more than you might think. On steep trails, spacing helps. You’re less likely to get jammed behind someone moving slower at a technical section, and it’s easier for the guide to check on everyone’s footing.
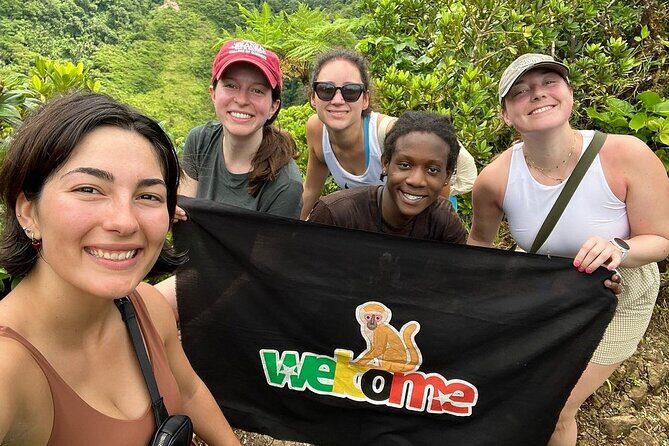
You’ll often see guides named Jay, Jey, Gucci, Fully, and Raheem. The best part is not just friendly vibes; it’s active guidance. Guides are described as watching everyone closely, encouraging you through difficult parts, and keeping you moving safely. Breaks matter too. Even with a rigorous pace, you’ll get time to pause, catch your breath, and reset your balance before the next steep segment.
The pace can also feel intense—some guides push to match ship timing—so you may feel the itinerary is tight. That’s not automatically bad. It’s the tradeoff that helps you finish and return. But it does mean you should be honest with yourself about your fitness and comfort level on technical trails.
Also, on the ride in, you might learn some St. Kitts context. One mention includes a bus driver named Kennedy giving a history tour on the way up, which adds a little extra value while you’re waiting for the climb to start.



Getting there from the port: pickup, meeting time, and timing stress
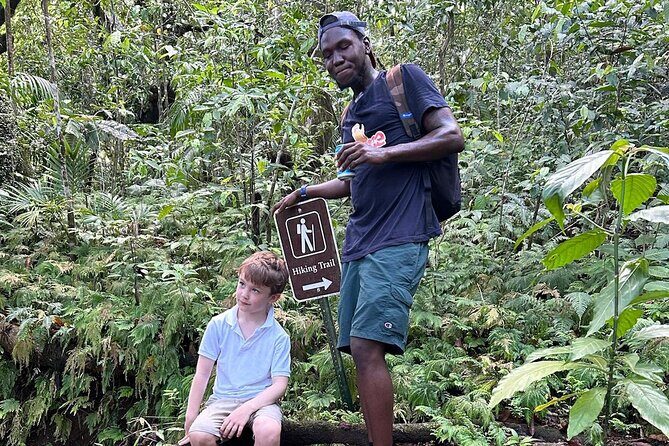
Pickup is offered, and you’ll receive a mobile ticket. For cruise passengers, the timing is the whole game. The climb is scheduled so you can return and get back to the ship in time, and that’s why the pace can feel brisk.
I recommend doing two things to reduce stress:
- Arrive early at the pickup point and keep your phone ready in case the operator needs quick confirmation.
- Treat meeting times seriously. If you miss the first window, the day can turn into a scramble.
Transportation can be compact. One account describes a small car with limited seating comfort, which is useful to know if you’re sensitive to cramped rides. If you’re doing this with more than one person, plan on that “squeezed in” feeling.
Finally, weather affects everything. This experience requires good weather, and if it’s canceled due to poor weather, you’ll be offered another date or a full refund. That’s important because a muddy, slippery day on roots and rock changes the difficulty level fast.
What to bring: the gear that saves knees and keeps hands free
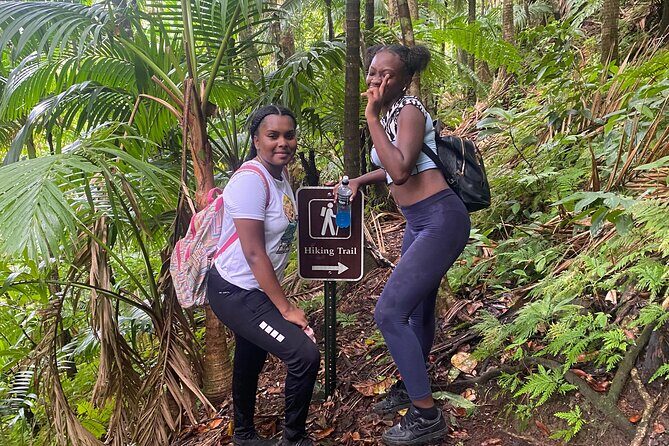
On this trail, comfort is safety. Based on the experience details and advice given, here’s the practical gear list that actually fits the terrain:
- Hiking shoes with grip (no sandals, no casual sneakers).
- A pack or small backpack so you can keep your hands free while navigating roots and rocks.
- Water, because you’ll be climbing at a rigorous pace.
- Gloves, especially if you want extra protection for rock scrambles and root stepping.
You should also expect you’ll get dirty. Some sections involve climbing that can mean scraped knees, muddy shoes, and general “I’m glad I hiked” mess. Wearing clothes you don’t mind getting beat up makes the hike feel better.
Weather, breaks, and the “will I make it” question
The experience works for a lot of people, but it’s still a technical workout. Even hikers who are in good shape can struggle with slippery roots and steep ground. So don’t rely on distance alone when you judge difficulty. This is about terrain and traction.
Guides are a big part of whether you have a smooth day. When the guides are doing their job well, you’ll get encouragement, the right breaks, and help navigating the sketchier parts. People highlight guides like Jay and Jey for keeping energy up and making sure everyone returns safely on schedule.
Still, your best move is to self-select. If you’re dealing with knee issues, instability, or fear of climbing with your hands, this may not feel fun. It will feel like endurance, not strolling.
Price and value: is $69 fair for a 3,700-foot volcano climb?
At $69 per person for a guided hike that runs about 4 to 5 hours, this is priced like an excursion with real work behind it. The value improves because admission is listed as free at the stop, so you’re not paying extra on top just to access the climb.
You’re also paying for guidance on a technical route: knowing where the dangerous footing is, helping you pace your climb, and keeping the group size capped at 15. When you combine that with the top payoff—crater rim views, panoramas, and volcanic caldera perspective—it’s a good value for hikers who want something active and genuinely different.
Where the value drops is if you came expecting a leisurely walk. If you want flat, easy scenery, you’ll likely feel disappointed because the trail is described as intense and hands-on in places. But if you want a Caribbean volcano day that feels like a real mountain effort, $69 can be a solid deal.
Who should book this Mt. Liamuiga hike (and who should skip it)
This tour fits best if you:
- Can handle steep, uneven terrain for several hours.
- Own proper hiking shoes and don’t mind muddy conditions.
- Like the idea of a summit reward that comes from effort, not comfort.
It’s not the best fit if you want:
- A relaxed, low-impact nature walk.
- A lot of summit time just hanging out.
- Zero scrambling. Even if the scrambling isn’t constant, it’s part of the route.
Cruise visitors can do it, but only if you’re comfortable with the schedule. The experience is built around finishing early enough to get back to the port, so you should plan to move at a steady, guided pace.
Should you book the Mount Liamuiga volcano hike?
I think you should book if you’re the type who enjoys a challenge and wants your Caribbean day to include a real physical experience. Mount Liamuiga delivers exactly what you want from a volcano hike: rainforest climb, technical footing, and a crater-rim view that feels earned.
Book it with confidence if you follow one rule: come prepared. Hiking shoes matter. Water matters. A backpack that keeps your hands free matters. And when the terrain turns muddy, treat every root and rock like it might be slippery.
Skip it or reconsider if technical climbing makes you anxious or if you’re likely to rush because you feel unprepared. This hike can be brutal when conditions are wet, and the schedule doesn’t slow down just because your legs are tired.
If you do book, pick your date carefully for weather. If the operator cancels for poor weather, take the alternative date. In this case, the right conditions are part of the value.
FAQ
How much does the St. Kitts Volcano Hike to Mt. Liamuiga cost?
It costs $69.00 per person.
How long is the hike?
The experience runs about 4 to 5 hours.
Is pickup offered, and will I get a ticket on my phone?
Pickup is offered, and you’ll receive a mobile ticket.
What is the group size limit?
The maximum group size is 15 travelers.
Is the admission ticket included?
Admission ticket is listed as free for the Mount Liamuiga stop.
What kind of footwear should I wear?
Wear hiking shoes. The trail can involve steep, slippery roots and rocks, and proper shoes are strongly recommended.
What happens if weather is bad or plans change?
The experience requires good weather. If it’s canceled due to poor weather, you’ll be offered a different date or a full refund. You can cancel for a full refund up to 24 hours in advance.